This blog assumes that you had installed iTheme Security either free or pro version. And also that I assume that you have some prior knowledge of wordpress management and ssl integration.
SSL doesn’t come in default with WordPress and you will need to buy certificate before enabling it in your website.
Just in case if you don’t know by default, iTheme Security comes up with options to enable ssl per content ie on selected post or pages, entire public site or for backend / wordpress admin dashboard.
Front End SSL Mode
iTheme Security lets you enable ssl in your front end side or public part of site in two different ways.
You can either enable ssl on the entire public site or you can choose to add ssl only on specific pages or posts.
Back End or Login Mode
Forces all logins over a secure SSL connection.
Enabling SSL using iTheme Security for Front End
Head to the Settings Page and then to the Secure Socket Layers (SSL) Section of the page.
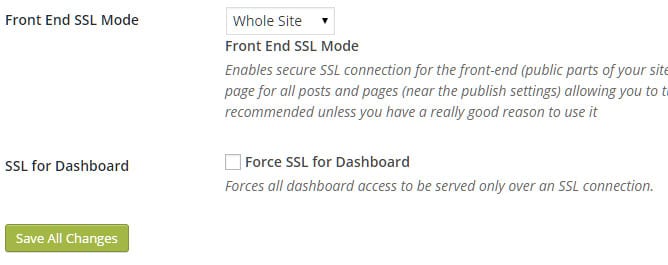
Whole Site Options
If you want to enable ssl to the entire public site then choose Whole Site Options and Save All Changes. This will make sure the entire public facing site will be ssl protected.
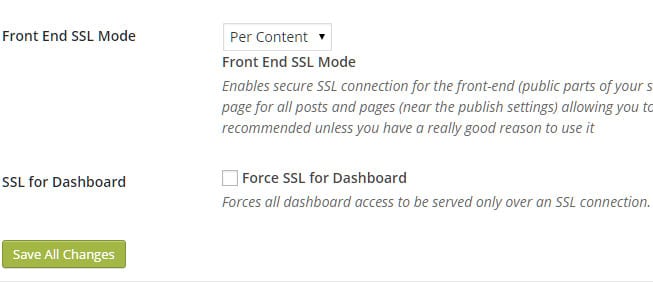
Selected page or post
Incase if you only wanted to enable ssl on selected page or post, choose Per Content Option and Save All Changes.
After this, select the pages or post that you want to enable ssl option. You can see the checkbox with Enable SSL appear on the right hand side of the dashboard. To enable click on the option and Update button.
Enabling SSL using iTheme Security for Dashboard or Backened
To enable ssl for the Dashboard tick on the Force SSL for Dashboard box and click on Save All Changes button.


